Key Highlights
- This guide helps you find and fix car paint scratches.
- You can learn about clear coat, base coat, and primer coat scratches. It also shares good ways to repair them.
- Discover the tools and materials you need for successful DIY car scratch removal.
- Follow steps to get your car ready, fix the scratches, and make the paint look nice after.
- Check out FAQs that answer common worries and give solutions about car scratch removal.
Introduction
Finding scratches on your car’s paint can be annoying. However, knowing the type of scratch and using the right scratch remover can help fix the look of your car. This guide talks about different types of car paint scratches. It also offers handy DIY solutions and helpful professional tips. Learn how to get rid of those small scratches and bring back your car’s shine.
Understanding Different Types of Car Paint Scratches
A car’s paint job is not only about looks; it also protects the metal below from weather damage. Scratches can reach the metal, causing rust and lowering the car’s value.
It is important to know the type of scratch you have to choose the right repair method. There are three main types: clear coat scratches, base coat scratches, and primer coat scratches. Each type needs a different way to fix it.
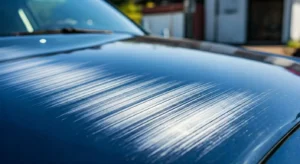
Exploring Clear Coat Scratches
The most common type of scratch is a clear coat scratch. These affect just the top layer called the clear coat. This layer protects against UV rays and small scratches. You usually get these scratches from light scrapes or dirt hitting your car.
You can spot a clear coat scratch easily. If your fingernail feels smooth when you run it over the scratch, it stays only in the clear coat layer. The good news is that these scratches are also the easiest to fix.
To fix them, you can use a scratch remover compound. Take a microfiber cloth and apply light pressure while moving your hand in a circular motion. This method usually gets rid of the marks. A final polish can make the area look good as new.
Identifying Base Coat Scratches
If a scratch is deeper than the clear coat and you see a change in the car paint, it means there is damage to the base coat. This layer holds the color of your car. Fixing these scratches takes a bit more work than those in the clear coat.
Base coat scratches can happen from bigger rocks, small bumps, or scratches from keys. If you ignore these scratches, the primer underneath could get damaged by the weather.
To repair these scratches, you might need touch-up paint first. After that, use fine-grit sandpaper to smooth it out. Then, apply rubbing compound and polish the area. This usually brings the paint job back to a good state.
Recognizing Primer Coat Scratches
Primer coat scratches are the most serious. They go through both the clear and base coats and can expose the bare metal. It’s crucial to fix these right away to avoid rust.
Deep scratches usually happen from big hits and show the metal underneath. If you don’t treat them, they can weaken the car’s body over time.
It might be better to let professionals handle primer scratches. They will sand down the damaged area first. Then, they will apply primer, match the color of the touch-up paint, and finish with a sealant to protect it. While you can find DIY kits, getting professional help will give you a lasting and effective repair.
Essential Tools and Materials for Scratch Removal
Before you start removing scratches, gather your tools. Having the right tools is key to fixing your car’s paint well and quickly.
You will need a car wash solution and microfiber towels for cleaning. Get different grits of sandpaper for smoothing. You should also have a scratch remover compound for buffing, touch-up paint if needed, and car polish for finishing touches.
Selecting the Right Scratch Remover Kit
Choosing the right tools for fixing car scratches is very important. If you use the wrong materials, you could make the scratch worse. This could lead to a more expensive professional repair. Start by checking what type of scratch you have: is it on the clear coat, base coat, or primer?
Pick a scratch remover compound that suits your car’s finish. Different compounds work for different depths and types of paint. You can check your owner’s manual or ask someone at an auto parts store for help.
Make sure your scratch repair kit has microfiber towels, polishing pads, and rubbing compounds. For deeper scratches, it’s best to get a complete kit that includes sandpaper, primer, and paint.
The Importance of Microfiber Towels in Scratch Repair
The type of cloth you use is important for car scratch repair. Using a regular cloth can cause new scratches because it has coarser fibers. However, microfiber towels are made for these care tasks.
These towels are made from very fine fibers that are soft on your car’s paint. They can pick up and hold dust, grime, and excess car polish. This is important for a smooth, scratch-free finish.
Make sure to use a clean microfiber cloth for each step of the repair. This helps prevent cross-contamination and stops scratching from leftover debris.
Step-by-Step Guide to Removing Car Paint Scratches
With your tools and materials ready, fixing those ugly scratches is easy. This step-by-step guide will help you do a good job at car paint restoration.
Keep in mind that patience and a gentle touch are important. If you rush or press too hard, you could damage your car’s finish even more. Take your time, follow the steps closely, and enjoy the feeling of bringing back your car’s shine.
Preparing the Scratch Area for Treatment
Before you use any scratch remover, make sure the area is clean and free of dirt. Grime, wax residue, and other contaminants can make the repair process less effective. This can lead to unsatisfactory results.
Start by washing the area with a car wash solution and water. Use a clean microfiber towel for this. For tough dirt, you can mix dish soap with water, making sure it is safe for cars. Rinse the area thoroughly and dry it with a clean microfiber towel.
After cleaning, check the area for any leftover dirt. If needed, repeat the cleaning until the surface is completely clean. A clean surface helps the scratch remover stick better and gives a smoother finish.
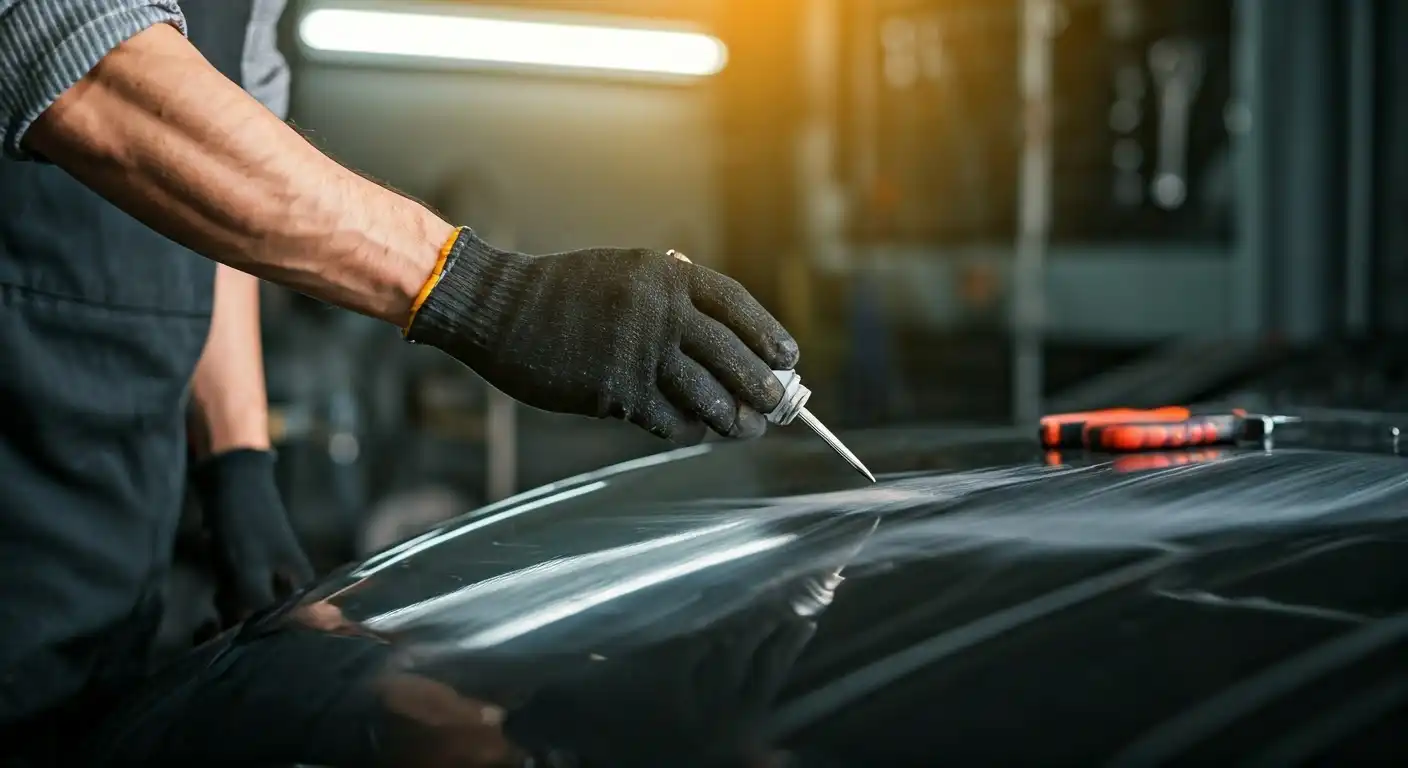
Applying Scratch Remover Techniques for Different Scratch Types
The way you apply a scratch remover depends on the type of scratch. For clear coat scratches, you can use a scratch remover compound. Just apply it with a microfiber cloth in a gentle circular motion. This should be enough.
For deeper scratches, you might need a rubbing compound. This stronger solution can help level the surface by taking off a thin layer of the clear coat. Again, use a microfiber cloth and apply it in a gentle circular motion. Make sure to check your progress often.
Always remember to use gentle pressure and work slowly. If you have deep scratches that show the primer, it’s best to talk to a professional. They can give you a good and lasting repair.
DIY Tips and Tricks for Enhancing Car Paint Post-Scratch Removal
Once you’ve removed the scratches, your car needs some extra care to regain its shine. These final touches help make it look better and protect the area you just worked on.
Using polishing compound and then a layer of car wax is the best way to finish. These simple products can really boost the shine and depth of your car’s paint, making those small imperfections disappear.
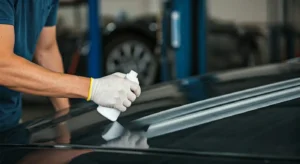
Using Polishing Compound for a Shiny Finish
After taking care of the scratches, make your car look better by polishing it. Polishing uses a special car polish with fine materials that help get rid of small flaws and boosts the shine.
First, put a little car polish on a clean microfiber cloth or a polishing pad. Then, gently rub the polish onto the area in small circles. This helps level out the clear coat and remove any leftover scratch remover or rubbing compound.
Keep polishing until you see a smooth and shiny finish. This leaves the surface looking brand new and helps the repaired spot blend in with the rest of the paint, making it almost disappear.
Waxing Your Car for Long-Term Protection
After you polish your car to make it smooth and shiny, you should protect the paint with car wax. This important step seals and defends the paint. It gives long-lasting protection against harmful elements.
Wax creates a shield against UV rays, dirt, and small scratches. Waxing regularly helps keep your car’s paint looking good and shiny.
Applying car wax is easy:
- Pick a good car wax that fits your car’s finish.
- Use a clean applicator pad to put a thin, even layer of wax onto the paint.
- Let the wax dry until it gets cloudy, then buff it off with a clean microfiber cloth.
Doing this simple task gives maximum protection and keeps your car’s paint looking great.
Conclusion
In conclusion, knowing how to remove scratches from your car’s paint is important for keeping your vehicle looking good. Understanding the different types of scratches is helpful. Using the right tools and materials can really help you get a smooth finish. Be sure to follow the step-by-step guide closely for best results. You can also use DIY tips, like polishing compounds and regular waxing, to improve your car’s paint quality and protection. Remember, details matter when it comes to taking care of your car’s outside. If you need more help or advice, feel free to contact our experts.
Frequently Asked Questions
Can toothpaste really remove scratches from my car?
Toothpaste is not a good choice for getting rid of scratches. It may hide small scratches for a while, but it does not fix the real damage. Plus, it might hurt your car’s paint. It’s better to use a proper scratch remover for better results.
What is the difference between a scratch remover and a rubbing compound?
Both help in removing scratches, but rubbing compounds are stronger. Scratch removers fix small flaws, while rubbing compounds deal with deeper scratches by taking off a thin layer of car paint.
Is it possible to fix deep scratches on my car at home?
You can fix minor to moderate scratches on your own. But for deep scratches, especially if they expose bare metal, it’s better to get professional help. This way, the car paint repair is done right and you can avoid causing more damage.
How often should I wax my car to prevent scratches?
Wax your car every three months to get the best protection. Car wax forms a shield against small scratches, UV damage, and dirt. It helps keep your car’s paint looking bright and shiny.
Can DIY scratch removal methods damage my car’s paint?
Using the wrong DIY scratch removal methods can harm your car’s paint. It’s important to do some research first. Make sure to use recommended products and apply them carefully. If you are not sure, it’s a good idea to ask a professional for help.