Do you have bubbles on your ceiling paint? Don’t worry! This guide will show you how to fix it. You will learn the steps and tools you need.
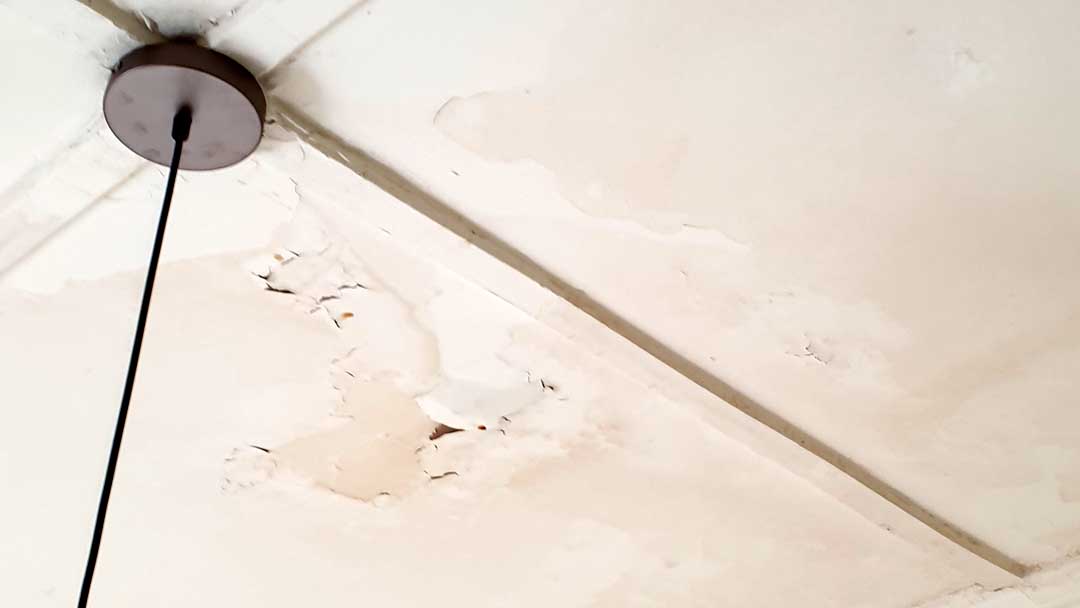
Why Does Ceiling Paint Bubble?
Paint bubbles for many reasons. Here are a few:
- Moisture: Water leaks can cause bubbles.
- Dirty Surface: Dust and dirt can make paint not stick well.
- Humidity: High humidity can cause bubbles.
- Incorrect Paint: Using the wrong type of paint can lead to problems.
Tools and Materials You Will Need
Before you start, gather these tools and materials:
| Tools | Materials |
|---|---|
| Putty Knife | Primer |
| Sandpaper | Ceiling Paint |
| Paintbrush | Drop Cloth |
| Paint Roller | Painter’s Tape |
| Bucket | Spackling Compound |
| Sponge | Stir Stick |
Step-by-Step Guide to Fix Bubbling Ceiling Paint
Step 1: Prepare The Area
First, cover the floor with a drop cloth. This will protect your floor from paint and dust.
Use painter’s tape to cover areas you don’t want to paint. Make sure everything is covered well.
Step 2: Scrape Off The Bubbles
Take a putty knife and gently scrape off the bubbles. Be careful not to damage the ceiling.
Remove all loose paint around the bubbles. This helps the new paint stick better.
Step 3: Sand The Area
Use sandpaper to smooth out the scraped area. Sanding helps the new paint look even.
Wipe away dust with a damp sponge. Make sure the area is clean and dry.
Step 4: Apply Spackling Compound
Use the putty knife to apply spackling compound. Fill any holes or cracks.
Let the compound dry completely. This usually takes a few hours.
Step 5: Sand Again
Once the compound is dry, sand the area again. This makes the surface smooth.
Wipe away dust with a damp sponge. Clean and dry the area well.
Step 6: Apply Primer
Use a paintbrush or roller to apply primer. Primer helps the paint stick better.
Let the primer dry completely. Follow the drying time on the primer can.
Step 7: Paint The Ceiling
Use a paintbrush for edges and a roller for large areas. Apply a thin coat of ceiling paint.
Let the first coat dry completely. Apply a second coat if needed.

Credit: www.reddit.com
Tips for a Smooth Finish
Here are some tips to get the best results:
- Use quality paint and primer. This helps the paint last longer.
- Work in small sections. This helps you focus and do a better job.
- Keep your tools clean. Clean tools help you paint better.
- Follow drying times. This helps the paint stick well.
Credit: quinnspainting.com.au
Preventing Future Bubbles
To prevent future bubbles, follow these tips:
- Fix leaks quickly. Water can cause paint to bubble.
- Keep the area clean. Dust and dirt can make paint not stick.
- Use a dehumidifier. This helps reduce humidity.
- Use the right paint. Choose paint that is made for ceilings.
Frequently Asked Questions
What Causes Ceiling Paint To Bubble?
Moisture and improper surface preparation often cause ceiling paint to bubble.
Can Humidity Cause Paint To Bubble?
Yes, high humidity levels can lead to bubbling ceiling paint.
How To Prevent Paint Bubbling?
Ensure the surface is dry and clean before painting.
Is Bubbling Paint Dangerous?
Not typically, but it indicates underlying issues needing attention.
Conclusion
Fixing bubbling ceiling paint is easy if you follow these steps. Gather your tools and materials. Prepare the area, scrape off bubbles, sand, apply spackling compound, sand again, apply primer, and then paint.
With patience and care, your ceiling will look like new. Remember to prevent future bubbles by fixing leaks and keeping the area clean.