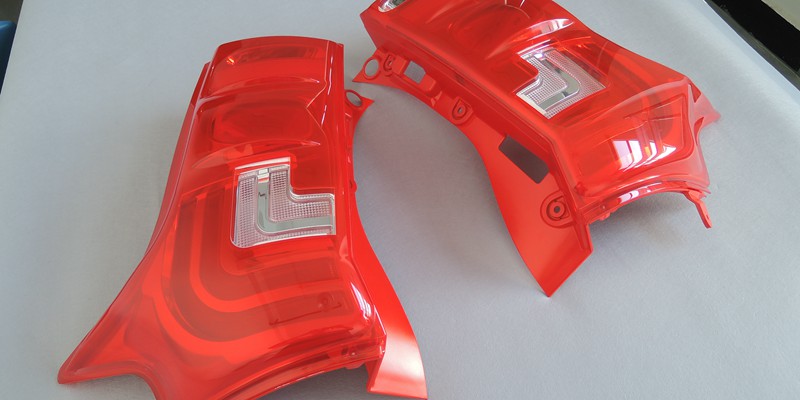
Painting plastic car parts can be tricky. But, with the right steps, you can do it. This guide will show you how to get a smooth, lasting finish. Let’s get started!

Credit: autoprotoway.com
Materials You Will Need
First, gather your materials. Here’s what you’ll need:
- Plastic car parts
- Sandpaper (400-grit and 800-grit)
- Plastic primer
- Automotive paint
- Clear coat
- Masking tape
- Soap and water
- Microfiber cloth
- Spray gun or spray cans
- Drop cloth or old newspapers
Step-by-Step Guide to Painting Plastic Car Parts
Step 1: Clean The Plastic Parts
Start by cleaning the plastic parts. Use soap and water to remove dirt and grease. Dry them with a microfiber cloth. Make sure they are completely dry before moving on to the next step.
Step 2: Sand The Surface
Next, sand the surface of the plastic parts. Use 400-grit sandpaper first. This will help the primer stick better. After that, use 800-grit sandpaper for a smoother surface. Wipe off any dust with a clean cloth.
Step 3: Apply Masking Tape
Use masking tape to cover any areas you don’t want to paint. This will give you clean lines and protect other parts of the car.
Step 4: Apply Plastic Primer
Now, it’s time to apply the plastic primer. Shake the can well before use. Hold the can about 10-12 inches away from the surface. Spray a light, even coat. Let it dry for about 30 minutes. Apply a second coat if needed. Let it dry completely before moving on.
Step 5: Apply Automotive Paint
Once the primer is dry, you can start painting. Shake the paint can well. Hold it 10-12 inches away from the surface. Spray in a steady, back-and-forth motion. Apply several light coats instead of one heavy coat. This will prevent drips and runs. Let each coat dry for about 10-15 minutes before applying the next one.
Step 6: Apply Clear Coat
After the paint is dry, apply a clear coat. This will protect the paint and give it a glossy finish. Shake the clear coat can well. Hold it 10-12 inches away from the surface. Spray a light, even coat. Let it dry for about 30 minutes. Apply a second coat if needed. Let the clear coat dry completely before handling the parts.
Tips for a Professional Finish
- Work in a well-ventilated area. This will help the paint dry faster and keep you safe from fumes.
- Use a drop cloth or old newspapers to protect your work area.
- Wear a mask and gloves to protect yourself from paint fumes and chemicals.
- Be patient and take your time. Rushing can lead to mistakes and a poor finish.
- Practice on a scrap piece of plastic before painting your car parts. This will help you get a feel for the spray can and technique.
Choosing the Right Paint
Choosing the right paint is crucial for a good finish. Make sure to use paint designed for automotive use. It will be more durable and give you a better finish. You can find many types of paint for different surfaces. For example, you might want to know about the best paint for styrofoam if you are working with other materials.
Common Mistakes to Avoid
Here are some common mistakes to avoid when painting plastic car parts:
- Skipping the primer. Primer helps the paint stick better and last longer.
- Applying too much paint at once. This can cause drips and runs. Apply several light coats instead.
- Not letting the paint dry completely between coats. This can cause the paint to peel or bubble.
- Using the wrong type of paint. Make sure to use paint designed for automotive use.

Credit: m.youtube.com
Maintaining Your Painted Plastic Car Parts
After painting, you’ll want to keep your car parts looking great. Here are some tips for maintaining your painted plastic car parts:
- Wash your car regularly to remove dirt and grime.
- Use a gentle car wash soap to avoid damaging the paint.
- Apply a coat of wax to protect the paint and keep it shiny.
- Avoid parking under trees to prevent sap and bird droppings from damaging the paint.
Frequently Asked Questions
What Type Of Paint Is Best?
Use a high-quality plastic-specific spray paint.
How To Prepare Plastic Car Parts?
Clean and sand the surface thoroughly.
Do I Need A Primer?
Yes, primer ensures better paint adhesion.
How Many Coats Should I Apply?
Apply 2-3 thin, even coats.
Conclusion
Painting plastic car parts can be a fun and rewarding project. By following these steps, you can achieve a smooth, lasting finish. Remember to take your time and be patient. Practice makes perfect! If you are interested in painting other materials, you can also learn about the best paint for cardboard. Happy painting!