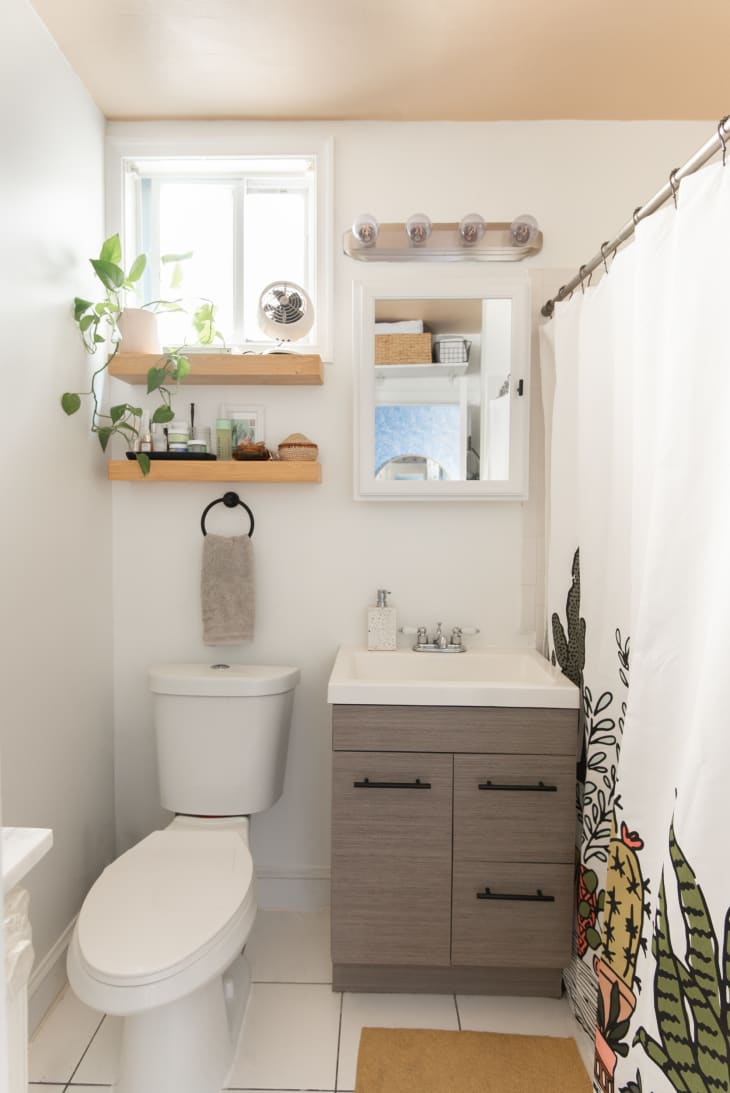
Painting your bathroom ceiling can be a fun project. A fresh coat of paint can make the room look brand new. But, it requires some special attention. Here’s a step-by-step guide to help you.
Materials You Will Need
Before you start, gather all the materials you need. Here is a list:
- Paint (specially formulated for bathrooms)
- Paint rollers and brushes
- Painter’s tape
- Drop cloths or plastic sheeting
- Sandpaper
- Primer
- Ladder
- Spackle and putty knife
- Cleaning supplies
Step 1: Clean the Ceiling
Start by cleaning the ceiling. Use a mild detergent and water. This will remove any dirt or grease. Let it dry completely before moving to the next step.
Step 2: Repair Any Damage
Check the ceiling for any cracks or holes. Use spackle to fill these in. Smooth it out with a putty knife. Allow it to dry and then sand it smooth. This will give you a perfect surface to paint on.
Step 3: Protect the Room
Cover the floor and any fixtures with drop cloths or plastic sheeting. Use painter’s tape to protect the edges of the walls. This will prevent any paint from dripping or splattering on unwanted areas.
Step 4: Apply Primer
Applying a primer is very important. It helps the paint adhere better. Use a roller to apply an even coat of primer. Let it dry completely. This usually takes about 2 hours.

Credit: www.apartmenttherapy.com
Step 5: Choose the Right Paint
For bathroom ceilings, use a paint designed for high-moisture areas. This kind of paint resists mildew and mold. It will last longer and look better.
Step 6: Start Painting
Now, it’s time to paint! Pour the paint into a tray. Use a roller for large areas and a brush for edges. Apply the paint in thin, even coats. This will prevent drips and uneven coverage. Let each coat dry before applying another. Usually, two coats are enough.

Credit: www.pinterest.com
Step 7: Remove Painter’s Tape
Once the paint is dry, carefully remove the painter’s tape. Do this slowly to avoid peeling off any paint. Your ceiling should now look fresh and clean!
Tips for Best Results
Here are some extra tips to help you get the best results:
- Work in good lighting. This helps you see any spots you might miss.
- Use a quality paint. It may cost more but will look better and last longer.
- Keep the bathroom well-ventilated while painting. This helps the paint dry faster.
- Consider using a paint with a satin or semi-gloss finish. These are easier to clean.
Common Mistakes to Avoid
Some mistakes can ruin your hard work. Avoid these common pitfalls:
- Not cleaning the ceiling before painting. Dirt and grease can prevent paint from sticking.
- Skipping the primer. This can lead to poor adhesion and uneven color.
- Applying too much paint at once. This can cause drips and uneven coverage.
- Rushing the job. Let each coat dry fully before adding another.
Frequently Asked Questions
What Paint Is Best For Bathroom Ceilings?
Use mildew-resistant, semi-gloss or satin paint for bathroom ceilings. It prevents mold growth and is easy to clean.
How To Prepare Ceiling For Painting?
Clean the ceiling thoroughly. Remove any peeling paint. Sand rough spots and apply a primer before painting.
Do I Need A Primer?
Yes, a primer ensures better paint adhesion. It also provides a uniform surface and helps in covering stains.
How Many Coats Of Paint Needed?
Usually, two coats of paint provide optimal coverage. This ensures a durable and even finish.
Conclusion
Painting your bathroom ceiling can be easy. Follow these steps and tips for a professional finish. With a little effort, your bathroom will look amazing.
If you enjoyed this guide, check out our other home improvement articles. Happy painting!